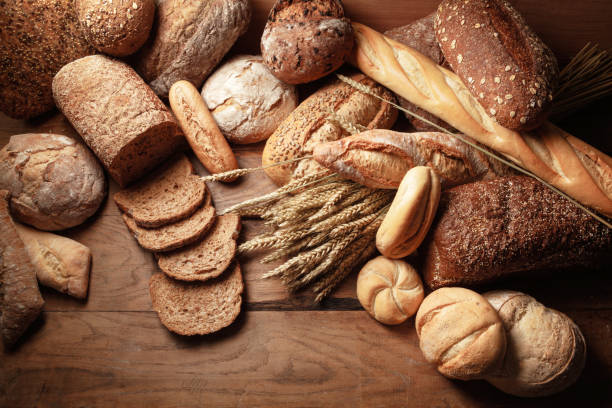
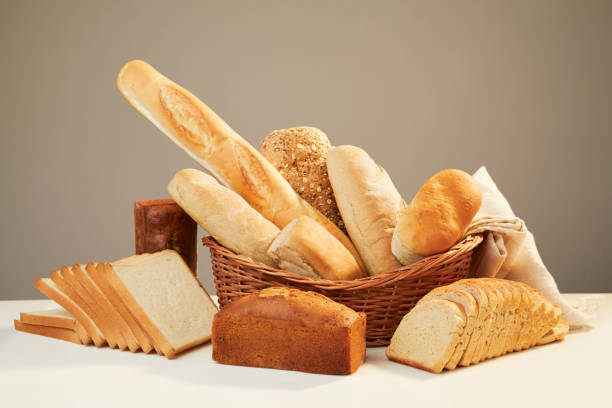
Bread Myths and Nutritional Value
LAST UPDATED: November 10, 2022
Our modern lifestyle compels us to look for convenient foods which not only help satisfy our body needs but also match up with the versatility of our demanding life.
Bread is one of such kinds. Ever since its inception, it has been adding value to our lives and has created its space to be tagged as a staple part of our diet. However, with the passing of time, there have been quite a few speculations questioning its nutritional value.
Today, we will be discussing a few of such myths and clear your doubts by presenting specific valuable facts about them. But before we jump into the main topic, let’s have a look at how this super versatile staple is made.
Bread Making Process
Bread making is quite simple. All you need to do is follow the steps and make sure the proportions and temperature are set right, so the final product is exactly what you planned it to be. So here we have laid down the entire process of making bread in a couple of simple steps. But before that, look at the list of ingredients you would be needing.
The Ingredients
Irrespective of what you are cooking, the first step of the entire process has to be gathering all the requisite ingredients in the required measurement.
For preparing the simplest of bread, you will be needing:
- Flour: there are several kinds of flours. One can employ any kind they want; therefore, make sure you browse your options and find the one that suits you the best as this is your core ingredient forming the base of the structure.
- Water: it will help bring all those gluten in the flour together to ensure the bread turns softer.
- Yeast: it adds flavor and forms the gas to create air bubbles in bread.
- Salt: for the bare minimum taste
The Process
Step 1: Mixing
The very first step to take in the baking process is to mix them all. Well, let us just remind you, this might sound simple and easy to execute, it’s actually the trickest thing you would encounter in the entire process.
When making the mix, ensure you mix the dry ingredients first before adding the wet ones. Doing so saves a lot of energy you might be required in the latter process. In addition, mixing ensures the ingredients are evenly spread out. This is particularly important for ingredients like yeast and salt.
While mixing, make sure the moisture you add is not too hot. Yeast can be killed if water is boiling or is above 40°C. So ensure it’s warm enough to be touched or drink.
Step 2: Resting & hydrating
Up next is resting and hydrating. This step doesn’t hold much value thus can be skipped. However, experts recommend not to do so, especially when mixing by hand or using whole wheat flour.
This step consists of leaving the dough mix just as it is for around half an hour. This resting period proffers the dough the time required for the flour to hydrate. Since wheat flour requires more time for water to seep in, the resting phase makes the dough softer and more flexible, which helps in the subsequent step, i.e., kneading.
Step 3: Kneading
Executing this step entirely depends on the recipes you choose to follow. However, making bread that doesn’t require any kneading demands a lot more baking time and patience.
Kneading supports the formation of an airy and light bread. Its primary function here is gluten development. Gluten is a protein present in flour. Kneading racks the gluten and unites the different gluten molecules, creating a gluten network.
In addition, kneading also induces air into the dough, essential for creating the fluffiness of the bread.
Step 4: First fermentation
Once you are done kneading the dough, it’s time to let it aside for the first fermentation. This process lets the yeast react by consuming glucose and converting the same into energy. While doing so, CO2 is created, which helps the dough to expand.
Yeast is a very reactive agent. Therefore, too much heat or too little heat can destroy its working technique. Thus having the dough set aside at the correct temperature is extremely important.
Besides monitoring temperature, humidity should also be kept in check. And the easiest way to do so is by covering the bowl where the dough is kept aside for fermenting. Make sure the dough doesn’t touch the cover to prevent sticking.
An alternative to speed up the process is to set it in an oven at a low temperature, but this may hamper the quality of the bread.
Step 5: Shaping
After the first fermentation, you will need to shape the dough, splitting it into required sizes. Again, operating a dough scraper here will make the process a lot easier as it prevents your fingers from turning doughy.
This step is essential and requires more attention than others, as the shape you prepare here would influence the final look.
But before offering the shape, make sure you press down the dough again and again to remove the air bubbles. This would give the bread another prospect to rise again since the yeast is fed with sugars in the dough. But, again, it prevents the formation of large bubbles.
Besides your hands, flour, and an operational surface, shaping a dough doesn’t mandate many other tools.
Step 6: Second fermentation
Second fermentation requires a bit of concentration. Since the bread is already shaping up, the process needs to be carried out in a way that doesn’t ruin the shape. After all, nobody wants their bread to be stuck or look weird.
While doing so, make sure you grease the container you plan to use for baking. This prevents the dough from clinging, allowing you to transfer it once it’s been fermented for long enough.
Again, cover up the dough during fermenting to prevent it from drying out and becoming less flexible.
Step 7: Scoring
Scoring is often overlooked, but it constitutes an integral part of the entire process. And it has to be done right before jumping into the major step, that’s baking.
When the bread is put into the oven, you certainly desire it to rise and expand; that’s why scoring is essential. Scoring can be done using sharp objects but not regular household knives. Therefore, make sure you buy the suitable object while prepping up.
Step 8: Baking
Baking is where the actual works get started. How well you carried out the above process is what will show here.
Temperature is all that needs to be taken care of when baking. If you level up the heat, the outer crust will darken, while if the heat is lower than its average temperature, the bread might not optimally cook. So make sure you get your homework done before digging your hands into it.
Step 9: Cooling
That’s it! Once done with baking, all you need is to let the bread get to room temperature and enjoy!
Myths and Misconceptions About Bread
As discussed earlier, there has been some speculation about bread and its nutritional value over time. Here are some statements made on bread that we feel are a myth. Have a look to understand the facts behind saying so.
Myth 1: Bread is just empty calories
Fact – Processed white bread might actually not be a healthy choice; a slice of multigrain can provide you with much-needed fiber and vitamins. Some bread is empty calories, but many are not!
Myth 2: Eating bread directly leads to weight gain
Fact – Calorie count is linked to weight gain or loss. Since only a moderate amount of bread is used in recipes, they won’t make you gain weight. Again, this also depends on the type of bread being consumed.
Myth 3: Eating bread is terrible for your blood sugar
Fact – Bread is a carbohydrate; thus, when eaten alone can hike blood sugar levels and subsequently drop. However, combining them with other components like protein and fat can reduce the ill effect.
Myth 4: Bread causes you bloating
Fact – Quick consumption of food or hormonal issues, stress, etc., is marked as a cause of bloating. However, there has been no specific evidence supporting the mentioned myth.
Myth 5: Gluten-free bread is wholesome
Fact – Gluten-free does not necessarily mean you are consuming healthy bread. Instead, such an alternative could be relatively high in sugar. If you want to make a healthy choice, choose bread made of whole wheat.
Myth 6: Bread holds no nutrients
Fact – Bread is a great source of carbohydrates, the one required for energy building. This itself certifies bread does hold nutrients.
Conclusion – Find a Healthier Bread for You
Taste is what we consider when it comes to buying food. If you don’t like the texture or taste of whole-grain bread, don’t push yourself to consume it. Otherwise, the bread might end up in the trash instead of your body.
But with taste, the nutritional value holds some importance. Thus, make sure you go through the label while buying one. It will help you understand how beneficial it could be and how many calories you are consuming.
Perhaps even consider looking at what micronutrients your body needs most, and buy bread with that extra little kick to help your health optimization journey.